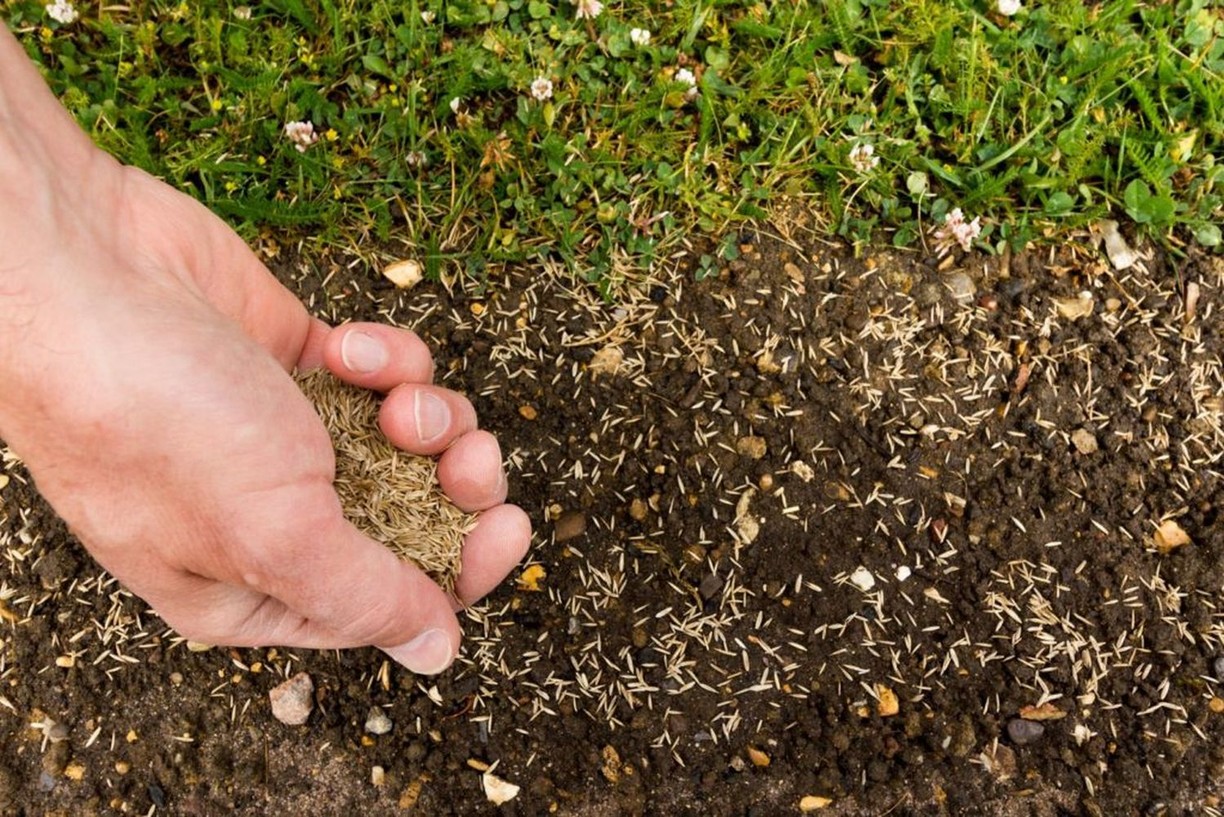
If you’ve ever sown a field and wondered why some rows burst into life while others lag behind, the answer might be lying just beneath the surface.
Seed-to-soil contact is one of the simplest, most overlooked factors in crop establishment. Yet it’s the difference between a seed that springs into life within days, and one that struggles for weeks. By making sure every seed is snugly surrounded by soil, you’re giving it the best possible start and setting yourself up for a more even, more productive crop.
A seed needs three things to germinate: moisture, warmth, and oxygen.
When a seed is in good contact with the surrounding soil, it can absorb moisture evenly and quickly. This “hydration kickstart” is what triggers the germination process. Without good contact, air pockets form around the seed, making it harder for moisture to reach it. The result? Patchy emergence, uneven stands, and reduced yield potential.
Depth plays a huge part in seed-to-soil contact. Plant too shallow, and the seed may dry out before germination; plant too deep, and it can exhaust its energy before reaching the surface.
A good rule of thumb: Plant at a depth of around five times the seed’s width.
– A wheat seed about 3 mm wide should be planted roughly 15 mm deep.
– A pea seed around 8 mm wide should be planted about 40 mm deep.
UK guidance from the AHDB echoes this point. Their advice for grassland reseeding is to sow most grass seed at just 1-2 cm depth and under 1 cm for very small seeds like clover. They found that only 20% of seedlings emerged after three weeks when sown at 5 cm. (AHDB grassland reseeding guide)
Experienced farmers know that good seed-to-soil contact doesn’t just “happen” it’s the result of preparation, precision, and good timing.
1. Choose the right seedbed preparation method: (Conservation Evidence study) shows that rotovating before seeding can significantly increase the richness of grass and forb species compared to harrowing.
2. Set drilling depth precisely: Use the 5× seed width rule, and adjust according to soil type, moisture, and crop species.
3. Roll after drilling where appropriate: A Cambridge or flat roller can help eliminate air pockets, press seeds into firm contact, and retain surface moisture.
4. Avoid extreme soil moisture conditions: Too wet, and you risk smearing the slot and limiting contact; too dry, and the soil may not pack tightly around the seed.
5. Consider seed firmers or press wheels: These tools can physically press the seed into the base of the furrow, ensuring maximum contact before covering.
– Northern Italy: Strip tillage in maize: A field trial in the Po Valley found that strip tillage provided seedbed quality equal to or better than minimum tillage, with rapid, uniform emergence and yields on par with conventional systems. (View the study).
– UK: Imaging seed-to-soil contact in sugar beet: University of Nottingham researchers used X-ray CT scans to measure the actual contact area between seeds and soil. Pelleted and coated seeds had greater contact and better water and nutrient uptake. (Read the research)
Even germination leads to:
– Stronger, more competitive crops
– Better root systems and nutrient uptake
– Quicker canopy closure, helping with weed suppression
– More uniform maturity at harvest, improving quality and yield
Farmers who fine-tune their seed placement and seed-to-soil contact often see a noticeable lift in crop performance. Not from spending more, but from getting the basics right.
Good seed-to-soil contact is one of those “small details” that pays off in a big way. By following the 5× seed width rule for depth, preparing the right seedbed, and learning from UK and European case studies, you can set your crop up for a strong, even start.
After all, you wouldn’t plant a tree in mid-air and expect it to grow so don’t let your seeds float in loose soil. Put them in firm contact with the earth, and they’ll do the rest.

Below: The result! This grass was sown with a Moore Unidrill
